Introduction to Nuxt & Vue.js: Getting Started

Senior Full-Stack Developer with over 20 years of experience building web applications for startups, government, and higher education.
In this first of a series of posts, I will introduce you to Nuxt.js – an open-source framework that makes web development simple and powerful with Vue.js.
I’ve recently been writing about Next.js where we created a simple app to try out the main features, let’s do the same with Nuxt.js and Vue.js.
Create the app
I used the nuxi@latest init command to create the default app structure.
pnpx nuxi@latest init daily-top-3-nuxt
Start-up
We do the usual install and start-up commands:
pnpm install
pnpm dev
This gives the bare bones app page:
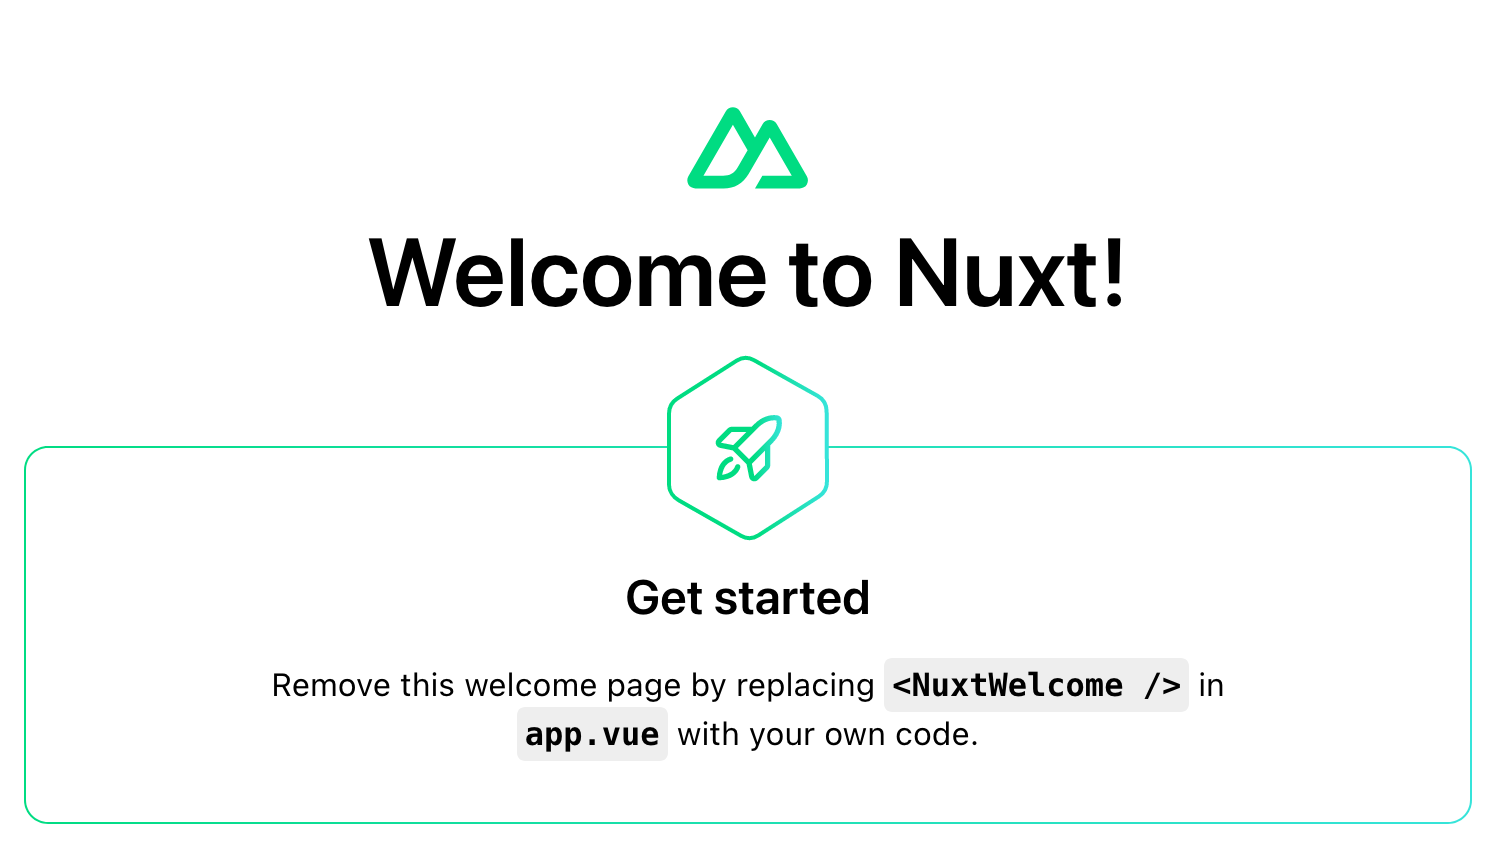
Great, everything is running. Let's get some data on the page.
Database Setup
For the database, we'll be using Postgres in Docker and Prisma to access the data. I won't go into detail here, but you can check out my previous post on Step-by-Step: Setting Up a Postgres Database with Docker and Seeding Test Data.
We can now start the database up with docker-compose up.
Prisma Setup
Install:
pnpm install prisma @prisma/client --save-dev
pnpx prisma init
Update the generated .env file in the project route with:
DATABASE_URL="postgresql://postgres:postgres@localhost:5432/postgres"
Then update the Prisma schema:
// This is your Prisma schema file,
// learn more about it in the docs: https://pris.ly/d/prisma-schema

generator client {
  provider = "prisma-client-js"
}

datasource db {
  provider = "postgresql"
  url      = env("DATABASE_URL")
}

model top3 {
  id        Int      @id @default(autoincrement())
  created_at DateTime @default(now()) @db.Date
  todos     todo[]
}

model todo {
  id       Int     @id @default(autoincrement())
  title    String
  complete Boolean @default(false)
  top3     top3    @relation(fields: [top3_id], references: [id], onDelete: Cascade)
  top3_id   Int
}
Generate the typesafe Prisma Client with:
pnpx prisma generate
Create the API
We'll create a GET API at the url /api/top3. Create a file named top3.get.ts inside the server/api directory. This file will handle any GET requests to /api/top3.
// server/api/top3.get.ts
import {getTop3} from "~/lib/prisma";

export default defineEventHandler(async () => {
    return await getTop3();
})
Fetch the data
In the App.vue page we fetch and display the data using useAsyncData and v-for to loop through the data:
<script setup>
const {data} = await useAsyncData('count', () => $fetch('/api/top3'))
</script>

<template>
    <div>
        <h1>Top 3</h1>

        <ol>
            <li v-for="todo in data.todos">{{ todo.title }}</li>
        </ol>
    </div>
</template>
This renders our data to the page:

Conclusion
Congratulations! You have successfully learned how to fetch and display data from a database using Nuxt.js. You have also seen how to use asyncData and v-for directives to handle asynchronous data and render lists. In the next post, we will explore how to add and update data using forms and API methods.
You can find the complete code for this tutorial on Github.