REST API in Kotlin & Spring Boot
Senior Full-Stack Developer with over 20 years of experience building web applications for startups, government, and higher education.
Introduction
In this post, I will explore how to create a REST API using Spring Boot and Kotlin. We will dive into the fundamentals of Spring Boot and Kotlin, explain how to set up the project, and guide you through the process of building the API step by step. By the end of this blog post, you should have a solid understanding of how to create a robust and scalable CRUD API following the RESTful principles in Spring Boot and Kotlin.
We'll build an API to the Daily Top 3 database that I've blogged about previously.
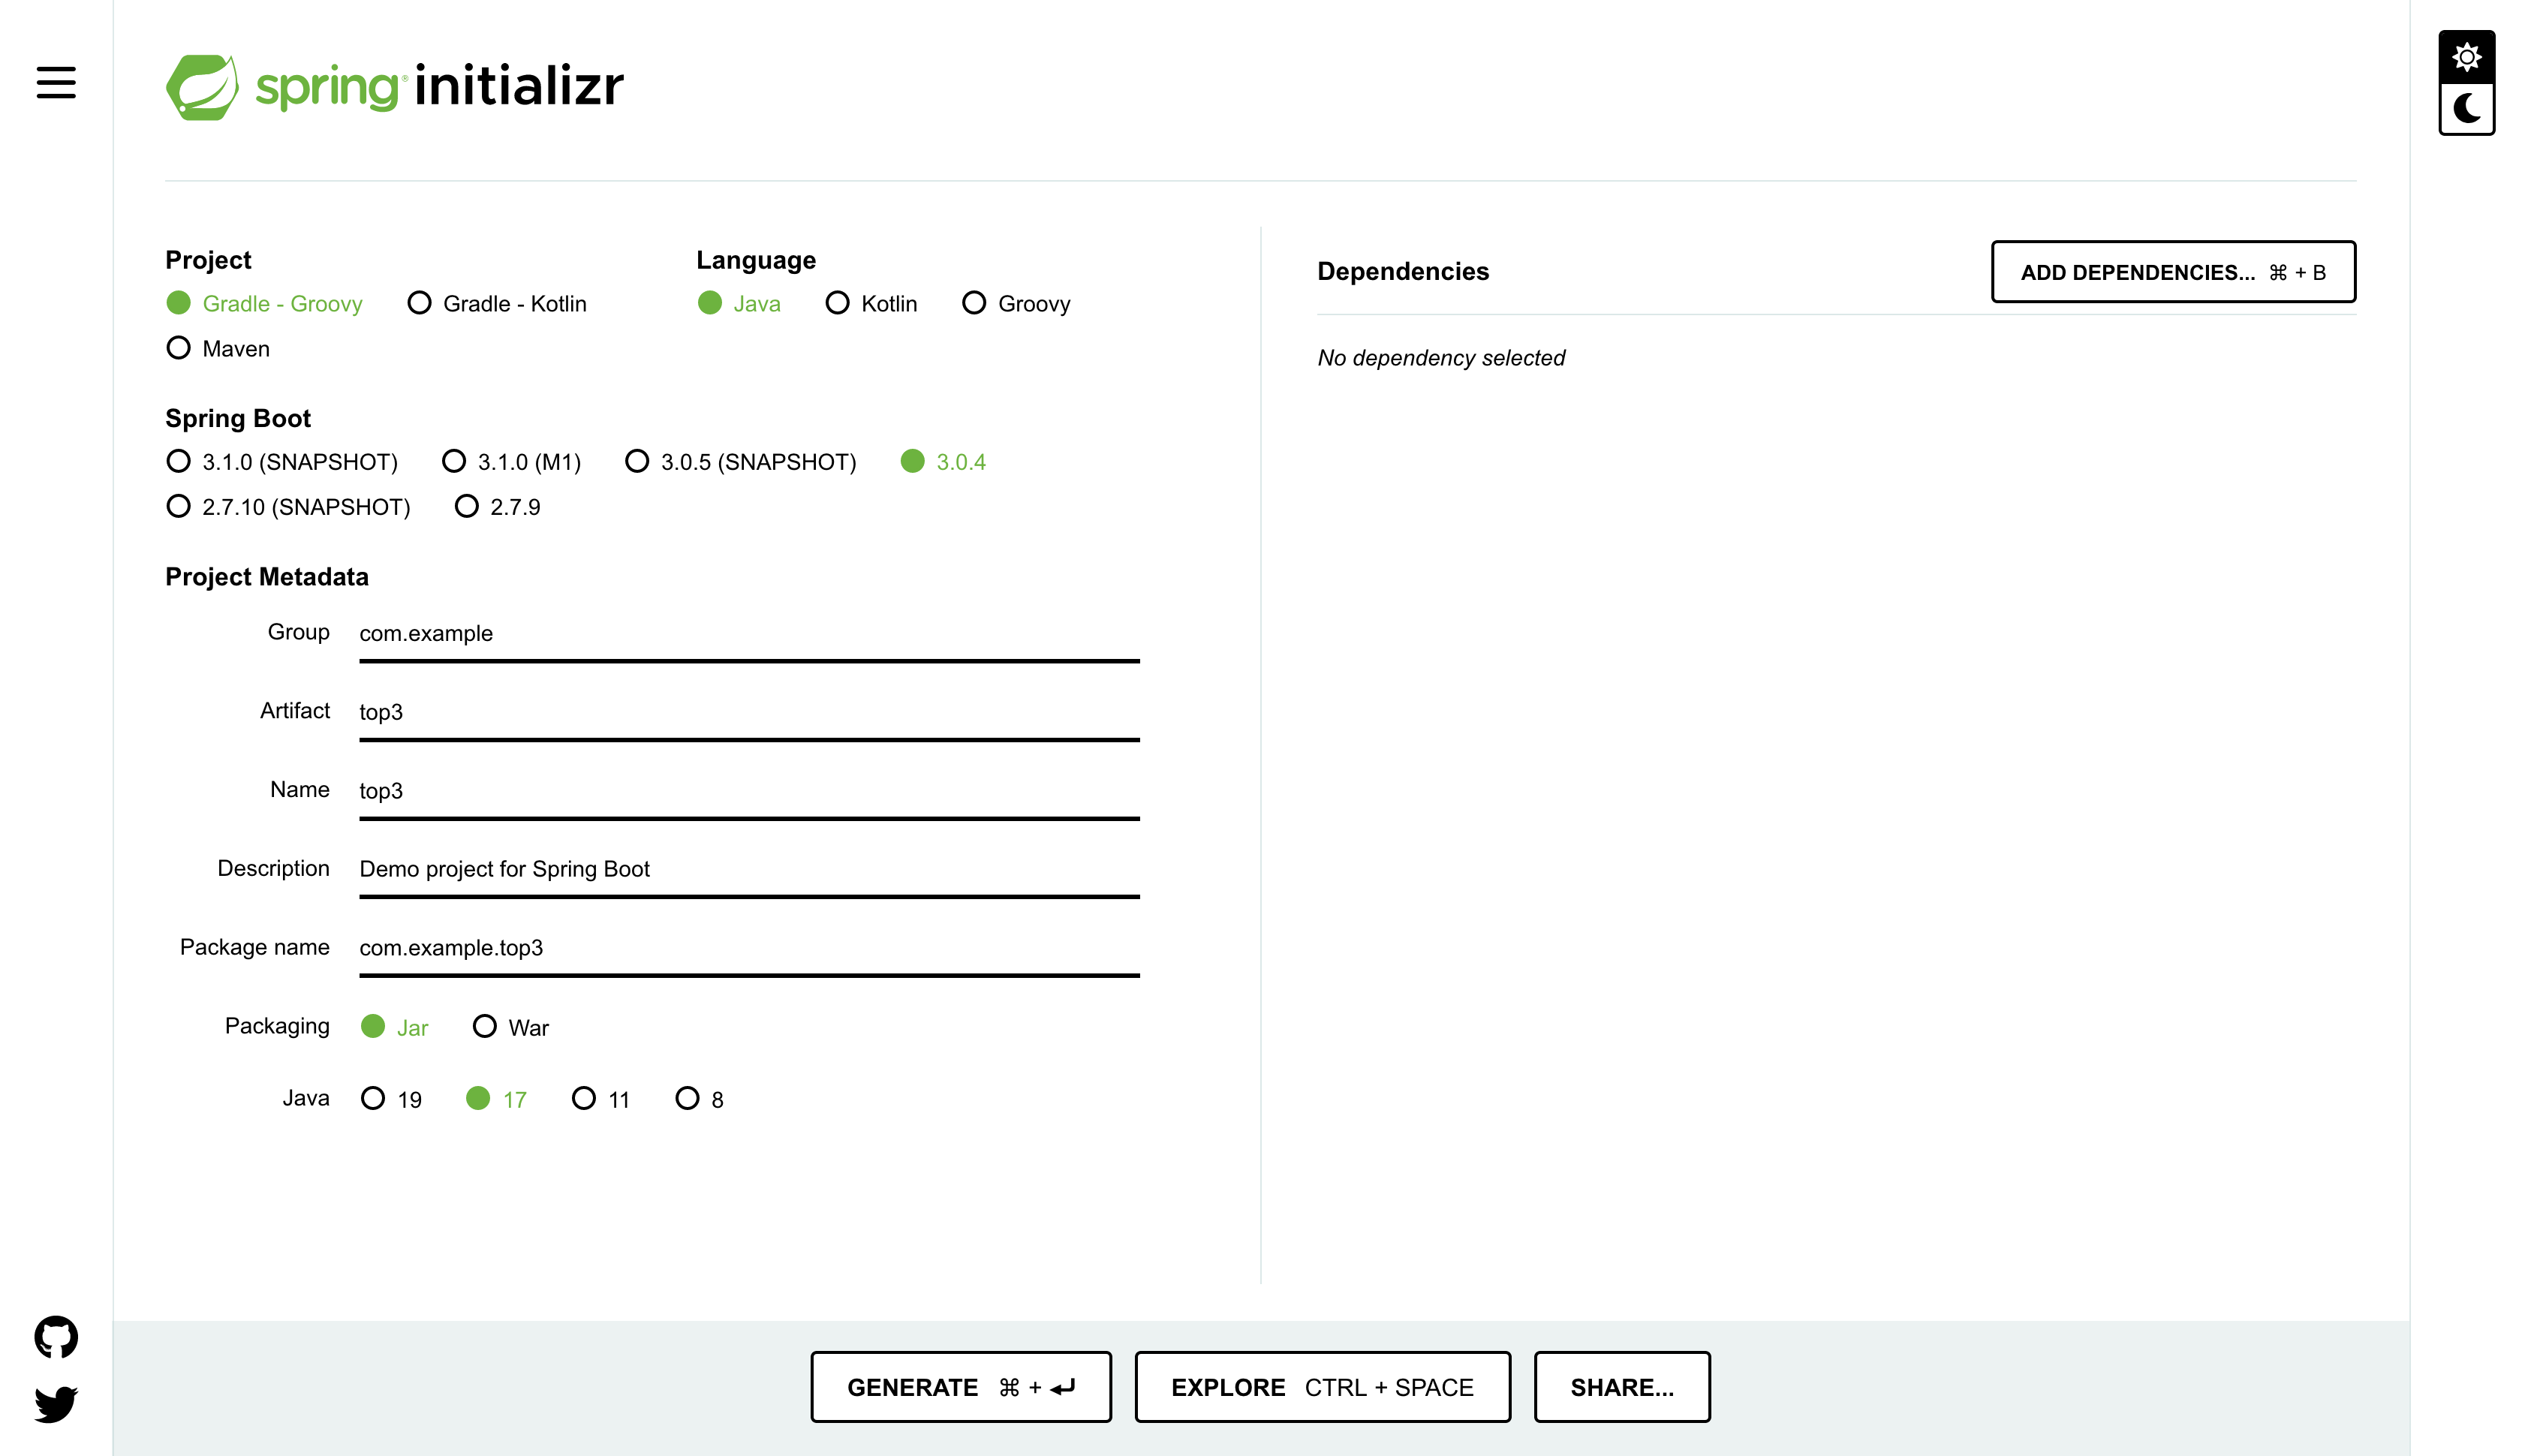
Create the Project
We'll use the spring initializr website to create the project:
Then add the following dependencies to the build.gragle.kts file:
dependencies {
    implementation("org.springframework.boot:spring-boot-starter-data-jpa")
    implementation("org.springframework.boot:spring-boot-starter-web")
    implementation("com.fasterxml.jackson.module:jackson-module-kotlin")
    implementation("org.jetbrains.kotlin:kotlin-reflect")
    implementation("org.postgresql:postgresql")
    developmentOnly("org.springframework.boot:spring-boot-devtools")
    testImplementation("org.springframework.boot:spring-boot-starter-test")
}
Create the JPA Entities
We need two entities for our domain Top3 and Todo:
@Entity
@Table(name = "top3")
data class Top3(
    @Id @GeneratedValue(strategy = GenerationType.IDENTITY)
    val id: Long = 0,

    @Column(name = "created_at", nullable = false)
    val createdAt: LocalDate = LocalDate.now(),

    @OneToMany(mappedBy = "top3", cascade = [CascadeType.ALL], orphanRemoval = true)
    @JsonManagedReference
    val todos: MutableList<Todo> = mutableListOf()
)

@Entity
@Table(name = "todo")
data class Todo(
    @Id @GeneratedValue(strategy = GenerationType.IDENTITY)
    val id: Long = 0,

    @Column(name = "title", nullable = false)
    val title: String,

    @Column(name = "complete", nullable = false)
    var complete: Boolean,

    @ManyToOne(fetch=FetchType.LAZY)
    @JoinColumn(name="top3_id")
    @JsonBackReference
    var top3: Top3
)
We use annotations such as @Entity, @Table, @Id, @GeneratedValue, @Column, etc. to map our Kotlin classes to the database tables. We also define relationships between our entities using annotations such as @OneToMany and @ManyToOne.
Creating JPA repository
JPA repositories provide an easy way to perform CRUD (Create, Read, Update, Delete) operations on your entities. To create a JPA repository for the Top3 entity, you can create an interface that extends JpaRepository and specify the entity type and primary key type as generic parameters. It's as simple as:
interface Top3Repository : JpaRepository<Top3, Long> {}
Once this interface is defined, Spring Data JPA will automatically generate implementations at runtime. You can then use the repository to perform CRUD operations on your entities.
Creating a Spring MVC controller
A Spring MVC controller is responsible for handling HTTP requests and generating responses. To create a controller for the Top3 entity, you can create a class annotated with @RestController and define methods to handle different HTTP requests. Here’s an example:
@RestController
@RequestMapping("/top3")
class Top3Controller(private val top3Repository: Top3Repository) {
    @GetMapping
    fun findAll(): Top3Dto = top3Repository.findByCreatedAt(LocalDate.now()).toDto()

    @PostMapping
    @ResponseStatus(HttpStatus.CREATED)
    fun create(@RequestBody top3Dto: Top3Dto): Top3Dto {
        val top3 = Top3()
        top3Dto.todos.map { top3.todos += it.toEntity(top3) }.toMutableList()
        return top3Repository.save(top3).toDto()
    }

    @PutMapping("/{id}")
    fun update(@PathVariable id: Long, @RequestBody top3Dto: Top3Dto): Top3 {
        val existingTop3 = top3Repository.findById(id).orElseThrow { EntityNotFoundException() }
        val updatedTodos = top3Dto.todos.map { it.toEntity(existingTop3) }.toMutableList()
        val updatedTop3 = existingTop3.copy(todos = updatedTodos)
        return top3Repository.save(updatedTop3)
    }

    @DeleteMapping("/{id}")
    @ResponseStatus(HttpStatus.NO_CONTENT)
    fun delete(@PathVariable id: Long) {
        top3Repository.deleteById(id)
    }
}
In this example, we use annotations such as @RestController, @RequestMapping, @GetMapping, @PostMapping, etc. to define our controller and map its methods to different HTTP requests. We also use the Top3Repository to perform CRUD operations on our entities.
Trying out the API
We can now run the app and try out the API with a few curl commands:
# CREATE
curl -X POST \
  http://localhost:8080/top3 \
  -H 'Content-Type: application/json' \
  -d '{
    "createdAt": "2022-01-01",
    "todos": [
      {
        "title": "Create Todo",
        "complete": false
      },
      {
        "title": "Write article",
        "complete": false
      },
      {
        "title": "Publish article",
        "complete": false
      }
    ]
}'

# READ
curl http://localhost:8080/top3
{
    "id":1,
    "createdAt":"2023-03-14",
    "todos":[
        {"id":1,"title":"Updated Todo","complete":true},
        {"id":2,"title":"Write article","complete":true},
        {"id":3,"title":"Publish article","complete":true}
    ]
}

# UPDATE
curl -X POST \
  http://localhost:8080/top3 \
  -H 'Content-Type: application/json' \
  -d '{
    "createdAt": "2022-01-01",
    "todos": [
      {
        "title": "Updated Todo",
        "complete": true
      },
      {
        "title": "Write article",
        "complete": false
      },
      {
        "title": "Publish article",
        "complete": false
      }
    ]
}'

# DELETE
curl -X DELETE http://localhost:8080/top3/1
Conclusion
In this blog post, we have learned how to create a REST API using Spring Boot and Kotlin. We have covered the basics of Spring Boot and Kotlin, how to set up the project, and how to implement the CRUD operations for the Daily Top 3 database.
This API is not the end of our journey, but rather the beginning. In future posts, we will explore how to create Web and Mobile frontends that consume this API and display the data in different ways.
If you want to see the full code of this project or try it out yourself, you can find it on GitHub. Thank you for reading!