We're finally ready to deploy our site to Netlify!
Netlify.toml
Make a file at the top level of your directory called netlify.toml, and fill it with:
[build]
  command = "npm run build && npm run export"
  publish = "out"
The command here is referring to the “Build Command” that Netlify will use to build and bundle up your final site. The publish is referring to the directory in which the build will be located after bundling! Next.js always exports to the out directory unless you configure it otherwise.
Then, open up your package.json and add this to the scripts underneath "start":
"export": "next export"
Amazingly, this is all you need to get your project set up for Netlify! Push your code to a repository on your favourite platform.
Create
- Upload the project we've created to Github or Gitlab.
- Create a Netlify account
- Follow the site deployment guide:
A Step-by-Step Guide: Deploying A Static Site or Single-page App | Netlify
When you get to step Build and Deploy settings in the above guide, use the following settings:
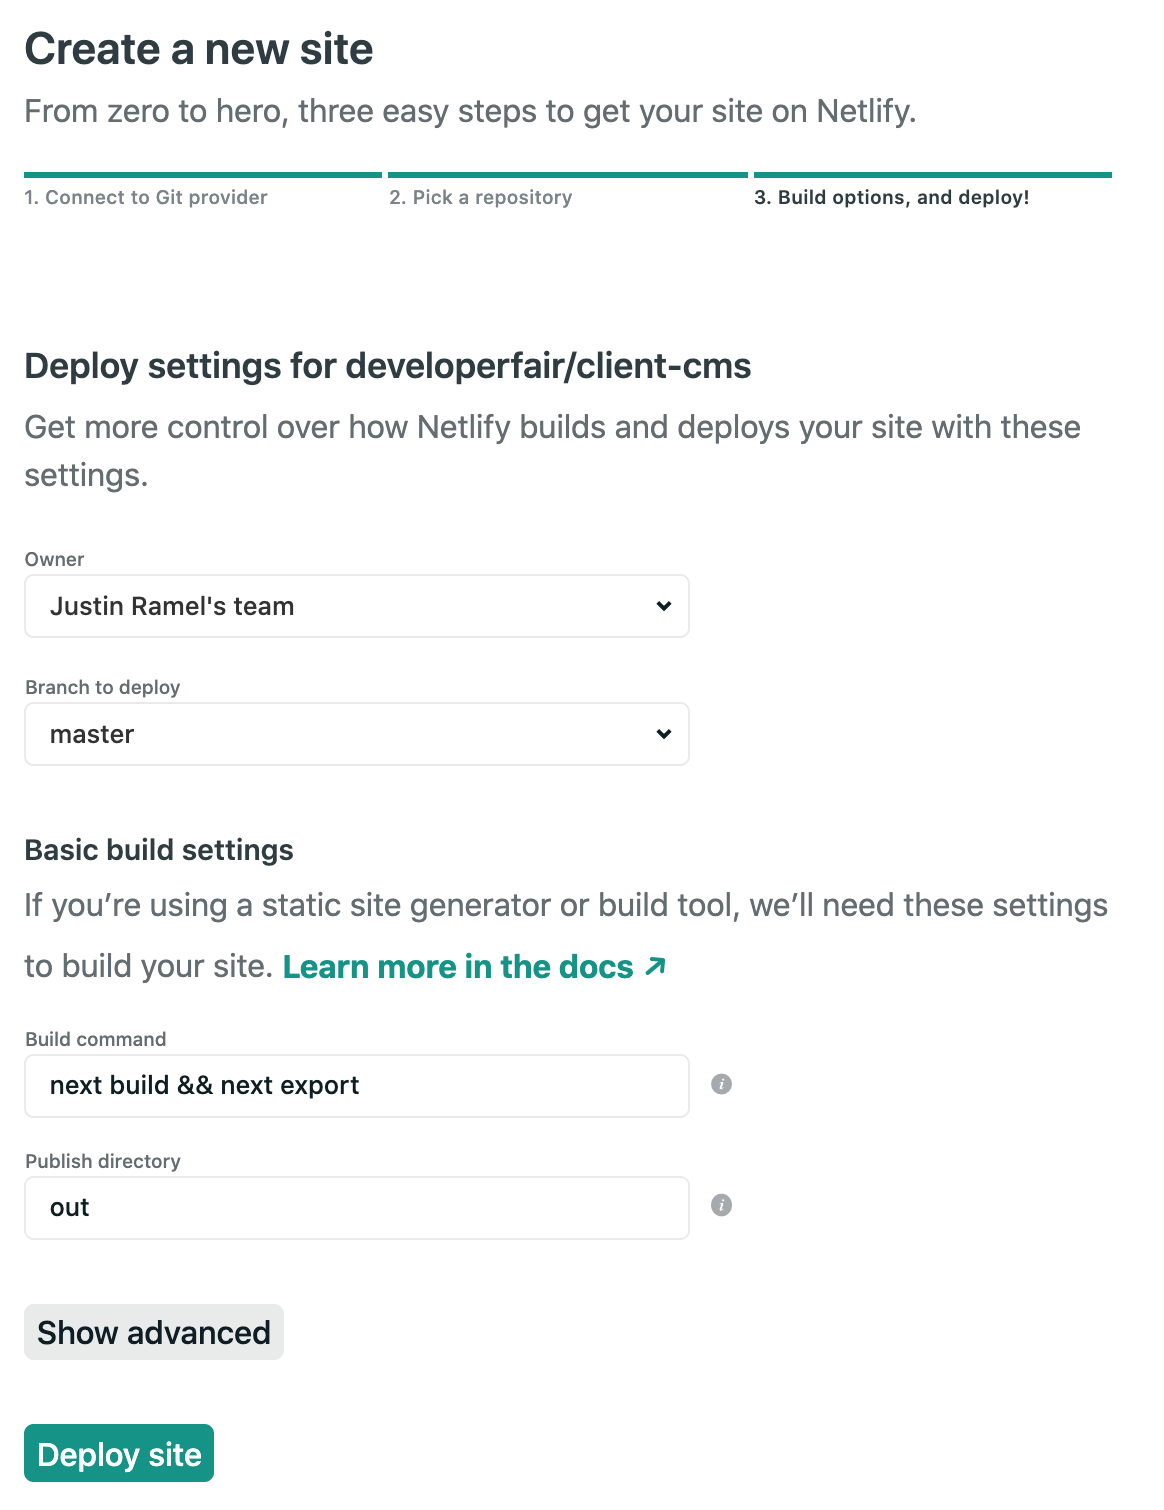
Once the deploy is complete we need to enable Netlify Identity service.
Enable Identity and Git Gateway
- Go to Settings > Identity, and select Enable Identity service.
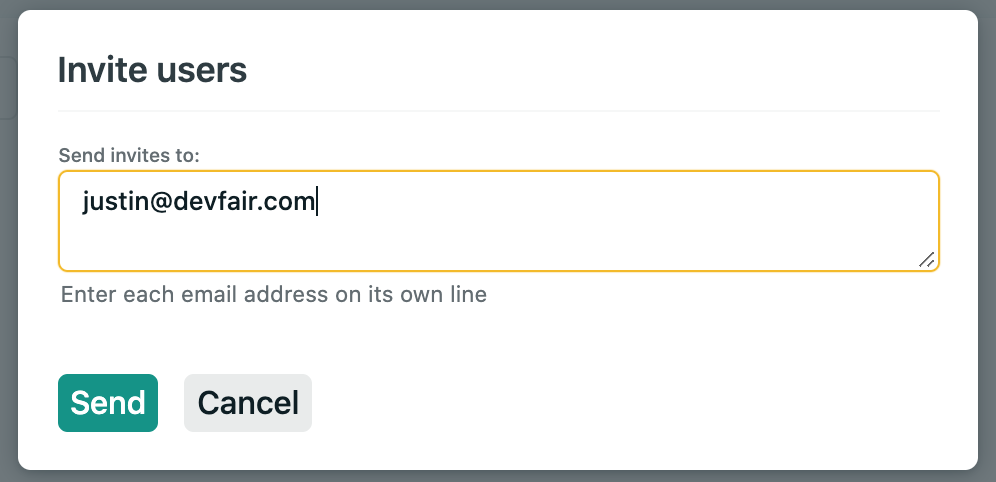
- Click the Invite User button and enter your email address:
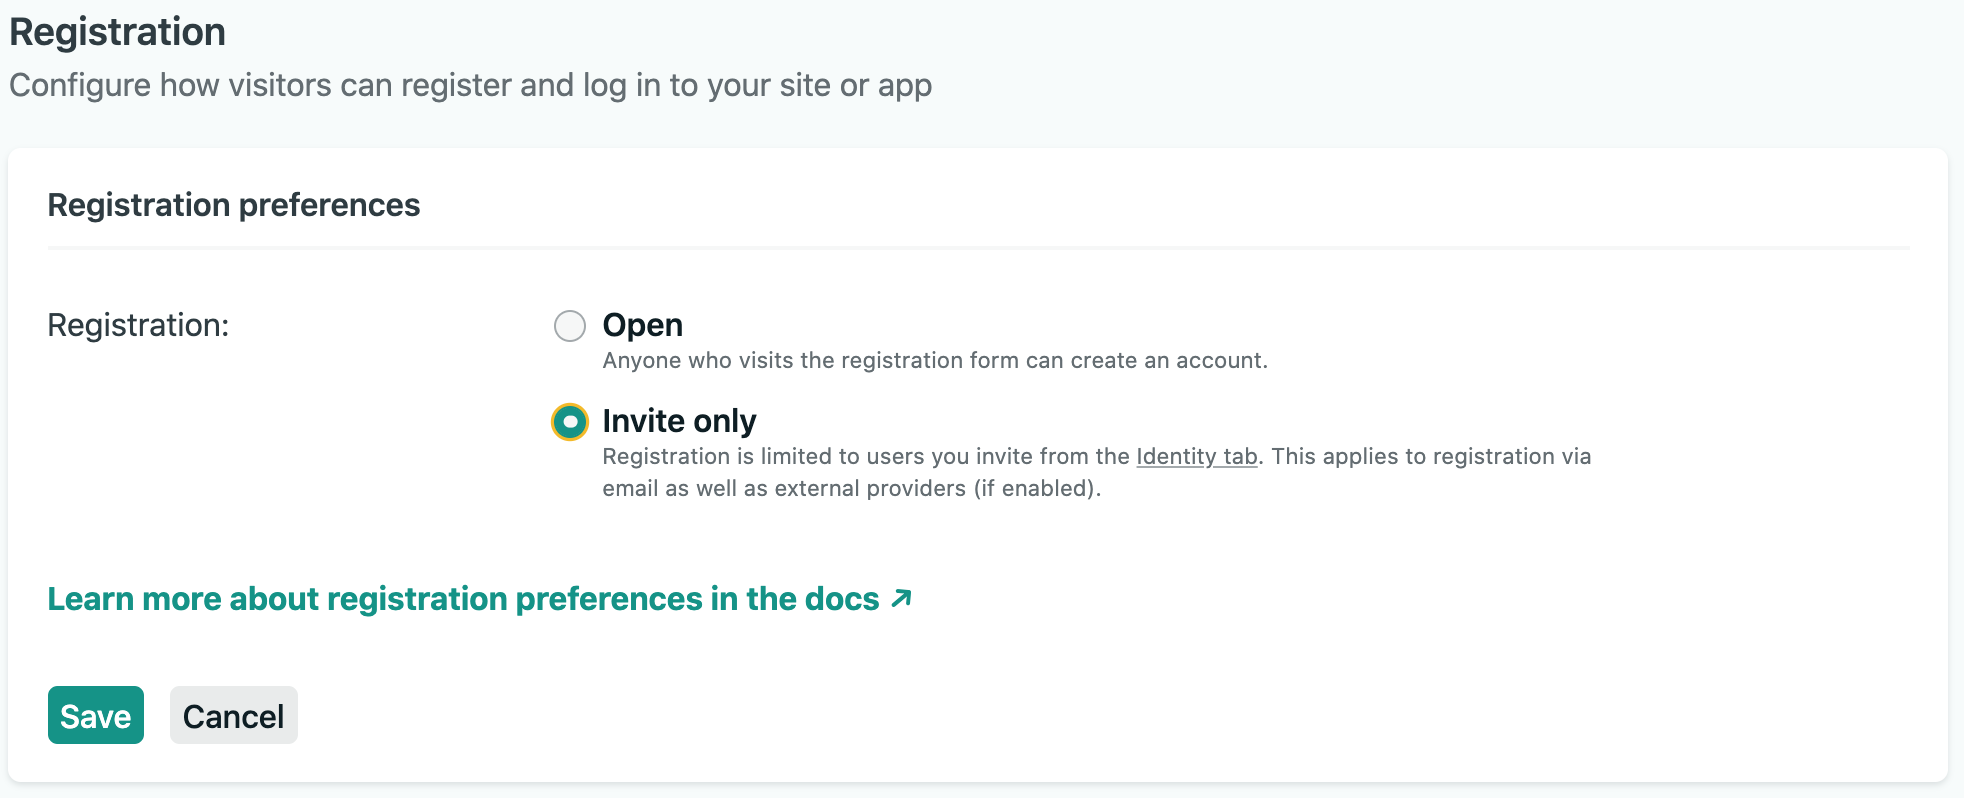
- Under Registration preferences, select Invite only then click the Save button.
Enable Git Gateway
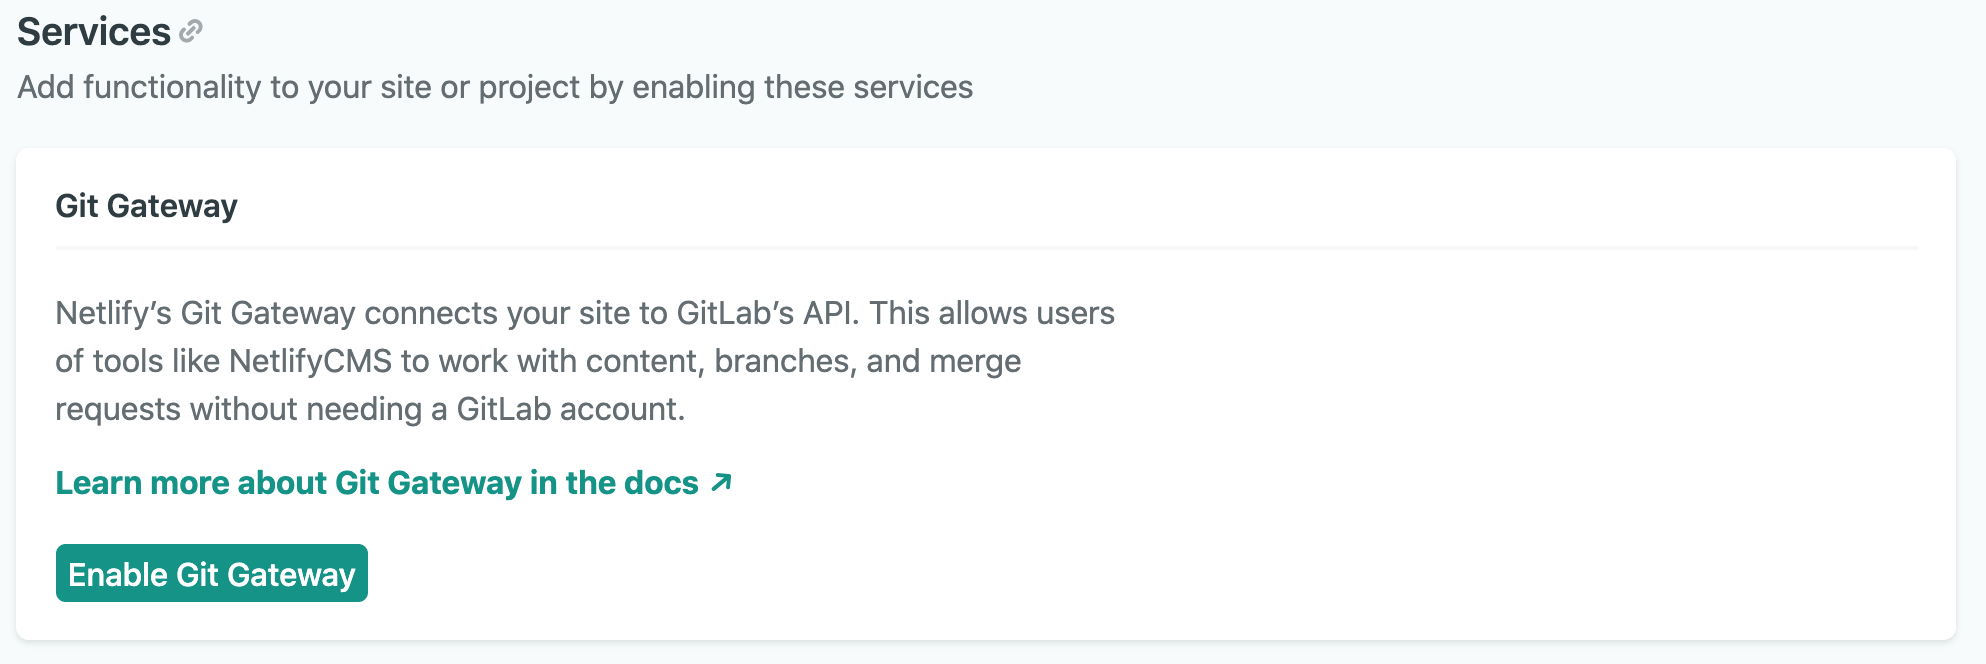
- Scroll down to Services > Git Gateway, and click Enable Git Gateway. This authenticates with your Git host and generates an API access token.
Invite Email
All the pieces are now in place and we're finally ready to login to the site.
Check your email for the invite email you sent above. Click the "Accept the invite" link and you will be taken to the deployed site to set a Password using the Netlify Identity Widget:
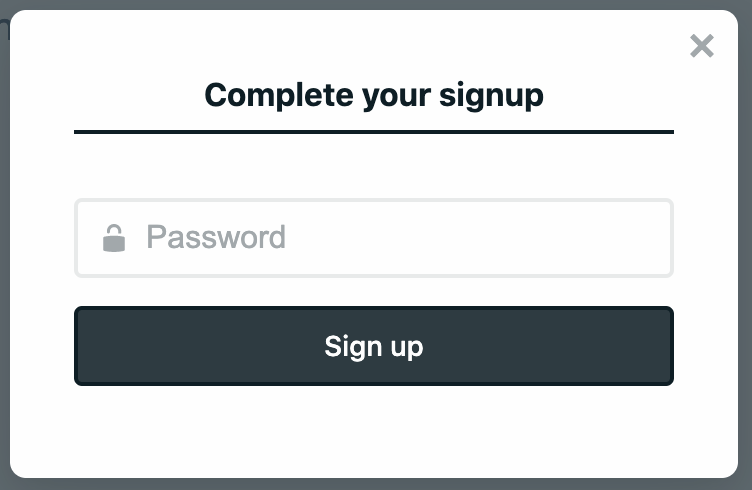
Enter a secure password and click up the Sign up button.
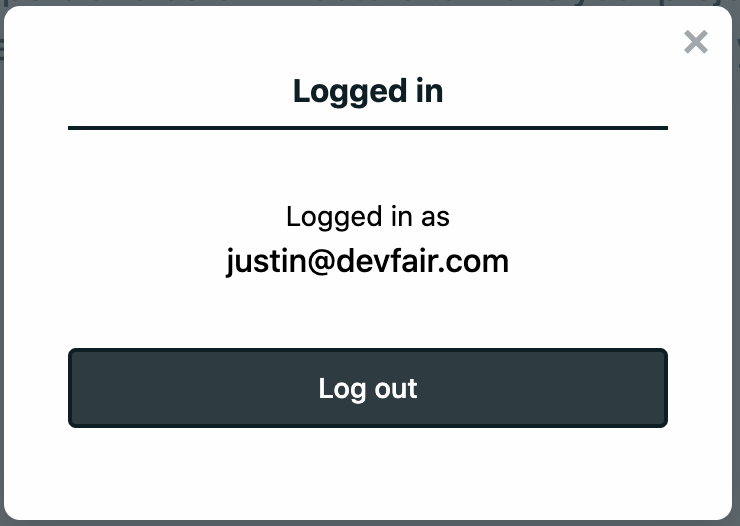
You should now see a successful login message:
Admin Login
If you now go to the url /admin on the deployed site you should see our custom login page.
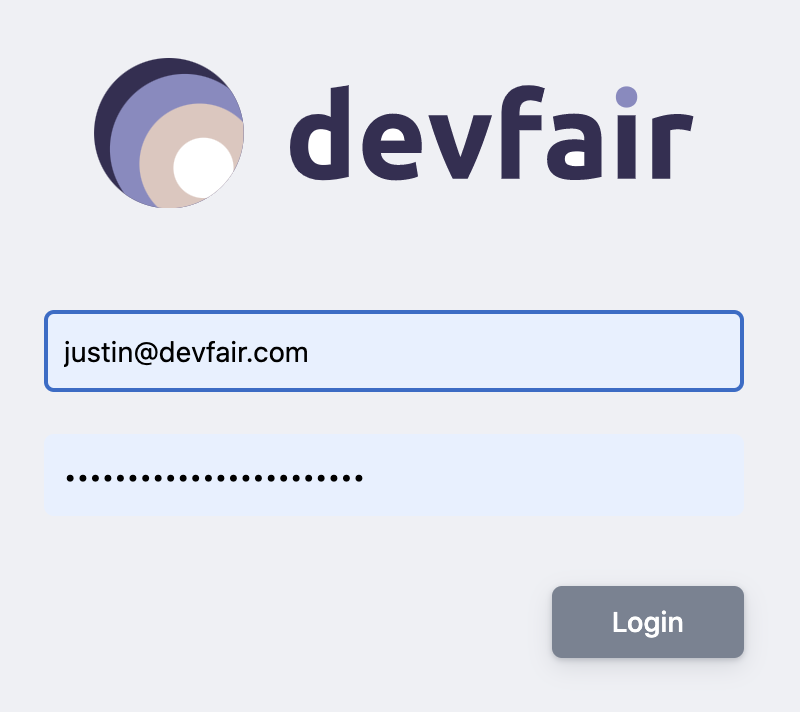
Enter the username and password we created above and click the Login button.
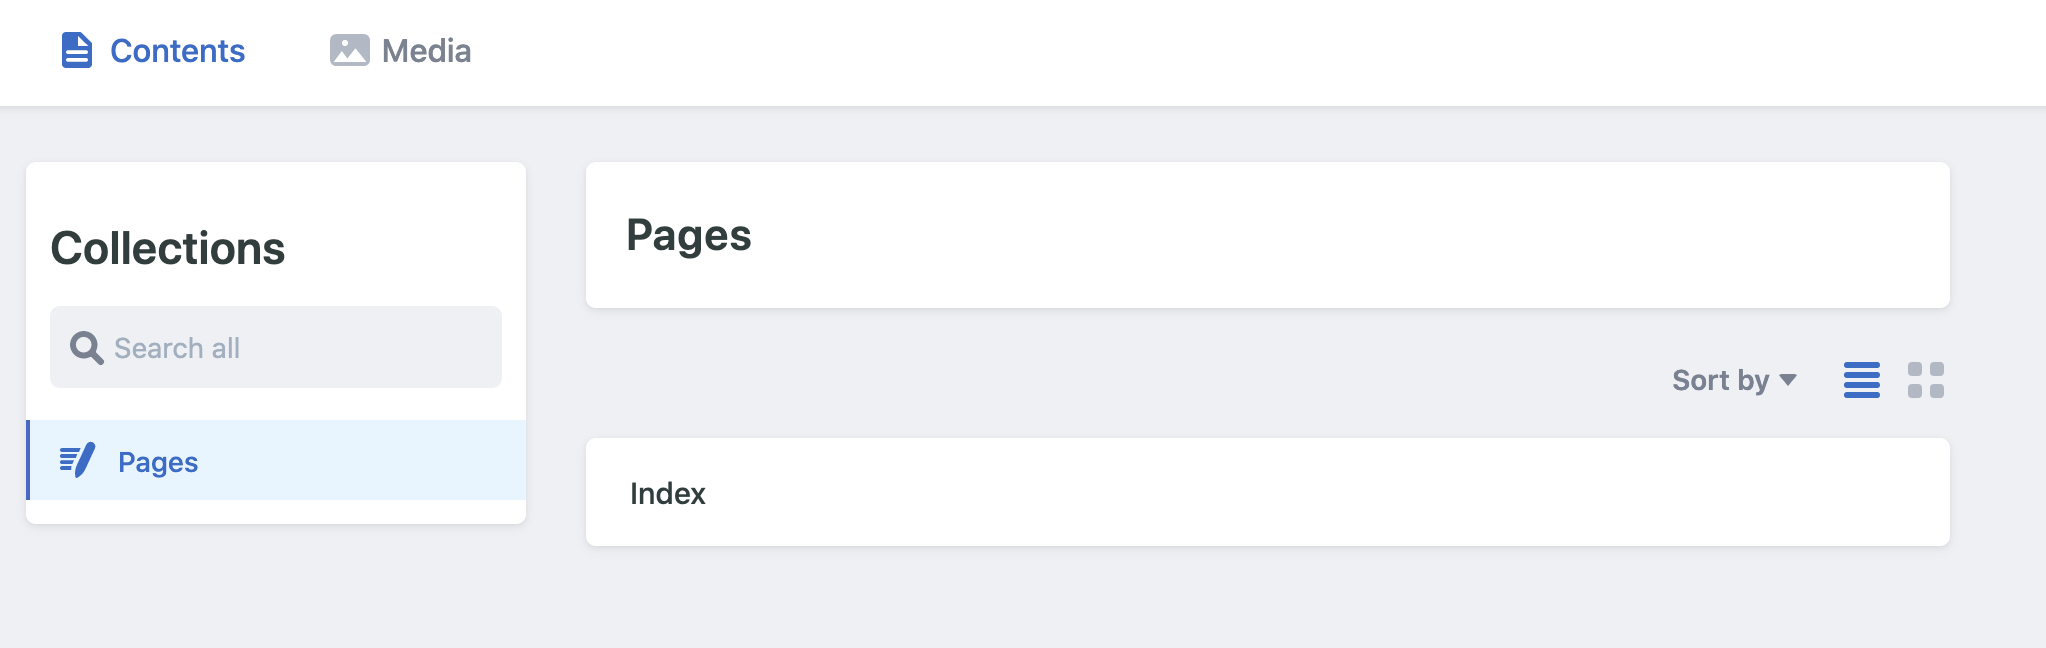
You should now see the Admin dashboard.
Congratulations, your CMS is working!
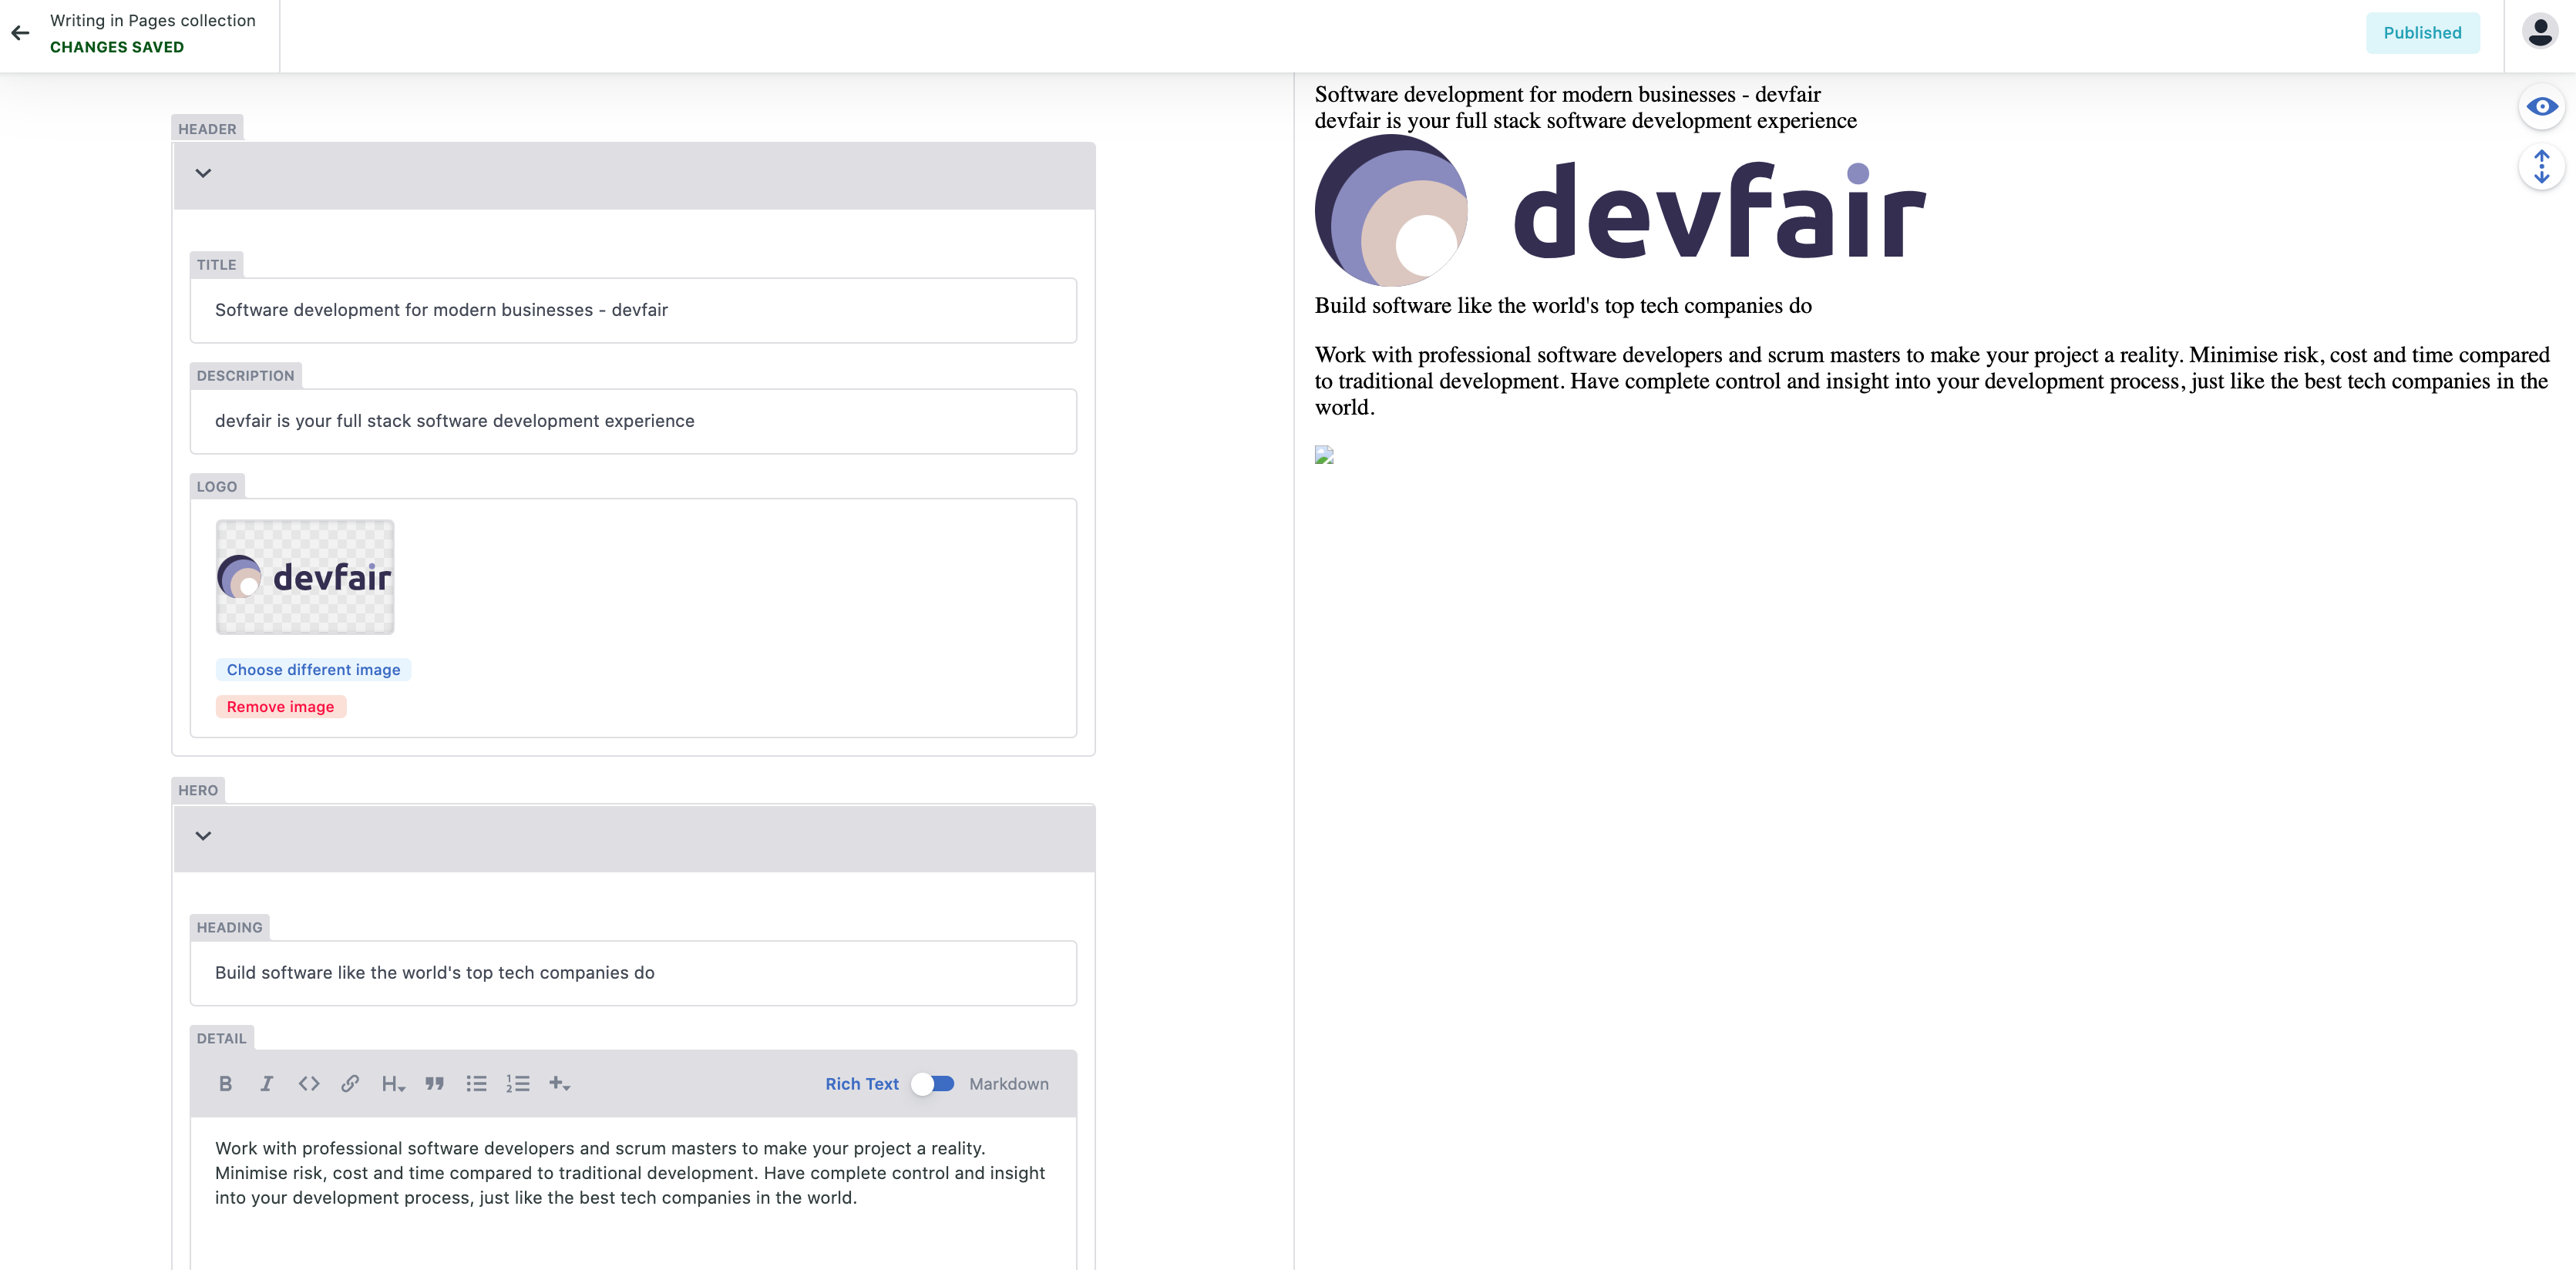
Click the Index Page to edit its content.
Index CMS Page
You can edit the page content on the left and it will update on the right.
When you're happy click publish and Netlify will start a build and deploy process so you can view your changes live on the site.
About the author
Senior Full-Stack Developer with over 20 years of experience building web applications for startups, government, and higher education.
Comments
Join the discussionNo comments yet. Be the first to comment.
Netlify CMS & Next.js Series
This will be a series of posts were I setup a simple brochure site in Next.js driven by the Netlify CMS.