Next.js Setup
Well setup Next.js using Typescript , ESLint , Prettier and Tailwind CSS.
Run the following commands to create a blank next.js project and test its working:
yarn create next-app client-cms

cd client-cms

yarn dev
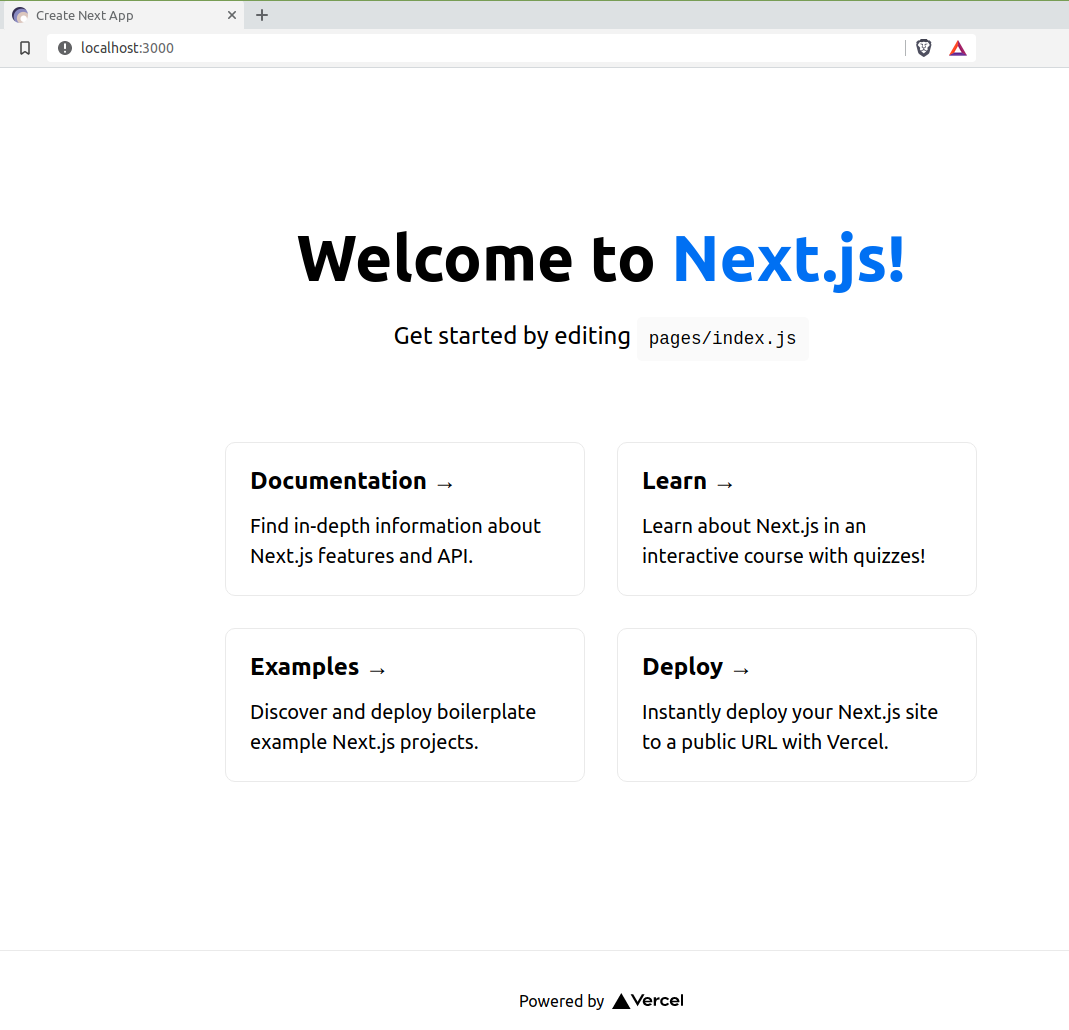
You should see something like:
Setup TypeScript
Add TypeScript using the command:
yarn add typescript @types/react @types/node -D
Rename the .js files to .tsx:
pages/_app.js -> pages/_app.tsx
pages/index.js -> pages/index.tsx
Run yarn dev again and next.js should detect the TypeScript files and generate a tsconfig.json file.
yarn dev

We detected TypeScript in your project and created a tsconfig.json file for you.
ESLint & Prettier
Install ESLint & Prettier using the command:
yarn add @typescript-eslint/eslint-plugin @typescript-eslint/parser eslint-config-prettier eslint-plugin-import eslint-plugin-jsx-a11y eslint-plugin-prettier eslint-plugin-react prettier eslint -D
Create a ESLint config file in the root of the project:
filename: .eslintrc.js

module.exports = {
  env: {
    browser: true,
    node: true,
    es2020: true,
  },
  parser: "@typescript-eslint/parser",
  parserOptions: {
    ecmaVersion: 2020,
    sourceType: "module",
    ecmaFeatures: {
      jsx: true,
    },
  },
  plugins: ["@typescript-eslint", "react", "prettier"],
  extends: [
    "plugin:@typescript-eslint/recommended",
    "plugin:react/recommended",
    "plugin:import/errors",
    "plugin:import/warnings",
    "plugin:import/typescript",
    "prettier",
    "prettier/@typescript-eslint",
    "prettier/react",
  ],
  rules: {
    "react/jsx-filename-extension": [1, { extensions: [".ts", ".tsx"] }],
    "import/extensions": 0,
    "react/prop-types": 0,
    "react/jsx-props-no-spreading": ["error", { custom: "ignore" }],
    "prettier/prettier": "error",
  },
  settings: {
    "import/resolver": {
      node: {
        paths: ["~"],
      },
    },
  },
};
Add Tailwind CSS
Add and setup Tailwind CSS using the following commands:
yarn add tailwindcss -D
npx tailwind init
This creates a tailwind.config.js file. Update the tailwind config file with purge settings:
filename: tailwind.config.js

module.exports = {
  purge: [
    './components/**/*.{js,ts,jsx,tsx}',
    './pages/**/*.{js,ts,jsx,tsx}',
    './content/**/*.md'
  ],
  theme: {
    extend: {},
  },
  variants: {},
  plugins: [],
  future: {
    removeDeprecatedGapUtilities: true,
    purgeLayersByDefault: true,
  }
}
Add PostCSS
Add a PostCSS config file, create the following file in the root of the project:
filename: postcss.config.js

module.exports = {
  plugins: ['tailwindcss', 'postcss-preset-env'],
  future: {
    removeDeprecatedGapUtilities: true,
    purgeLayersByDefault: true,
  },
}
Add the PostCSS Preset Env module which converts modern CSS to wider browser compatibility format:
yarn add postcss-preset-env -D
Create a tailwind.css file to import Tailwind CSS:
filename: styles/tailwind.css

@tailwind base;
@tailwind components;
@tailwind utilities;
Update the next _app.tsx file to import tailwind.css:
filename: pages/_app.tsx

import '../styles/tailwind.css'

function MyApp({ Component, pageProps }) {
  return <Component {...pageProps} />
}

export default MyApp
I've removed the import of the global.css file as we'll be deleting that file during the clean up step below.
Clean up
Remove the Home.module.css import from index.tsx and any references to the styles and images:
import Head from "next/head";

export default function Index() {
  return (
    <div className="p-4">
      <Head>
        <title>devfair client cms</title>
        <link rel="icon" href="/favicon.ico" />
      </Head>

      <main>
        <h1 className="text-6xl">
          Welcome to <a href="https://devfair.com">devfair client cms!</a>
        </h1>

        <p className="mt-0 mb-4 text-gray-600">
          Get started by editing <code>pages/index.tsx</code>
        </p>
      </main>
    </div>
  );
}
Delete the unused files:
styles/globals.css
styles/Home.module.css
public/vercel.svg
pages/api/hello.js
Done!
When you run yarn dev you should now have a working next.js site with typescript, tailwind.css setup:

About the author
Senior Full-Stack Developer with over 20 years of experience building web applications for startups, government, and higher education.
Comments
Join the discussionNo comments yet. Be the first to comment.
Netlify CMS & Next.js Series
This will be a series of posts were I setup a simple brochure site in Next.js driven by the Netlify CMS.