Netlify CMS & Next.js Series - Integrating Netlify CMS
The default method of integrating Netlify CMS with Next.js is not super flexible so lets use an alternative method... We want custom previews so lets use netlify-cms-app.
NOTE: If you're not interested in custom previews take a look at the standard Netlify CMS guide: Adding Netlify CMS to NextJS
Add the Netlify CMS dependency using the command:
yarn add netlify-cms-app
Sign up redirect handler
During the user sign up process the site must handle authentication redirects. The easiest way to handle this is by adding the Netlify Identity Widget to the index page header:
filename: pages/index.tsx

...
<Head>
  <title>{header.title}</title>
  <link rel="icon" href="/favicon.ico" />
  **<script src="https://identity.netlify.com/v1/netlify-identity-widget.js" />**
</Head>
...
Admin page
Lets create an admin page that loads the Netlify CMS:
filename: pages/admin.tsx

import React from "react";
import dynamic from "next/dynamic";

const AdminWithNoSSR = dynamic(
() =>
    import("netlify-cms-app").then((CMS: any) => {
      CMS.init();
    }) as any,
  { ssr: false });

export default AdminWithNoSSR;
NOTE: We're using the Next.js dynamic method to prevent the Netlify CMS code running server side
We'll also need a file to configure Netlify CMS:
filename: public/config.yml

backend:
  name: git-gateway
  branch: master
media_folder: public/images
public_folder: /images
collections:
  - name: "pages"
    label: "Pages"
    files:
      - label: "Index"
        name: "index"
        file: "content/index.md"
        fields:
          - label: "Header"
            name: "header"
            widget: "object"
            collapsed: false
            fields:
              - { label: "Title", name: "title", widget: "string" }
              - { label: "Description", name: "description", widget: "string" }
              - { label: "Logo", name: "logo", widget: "image", default: "/images/devfair-logo.svg" }
          - label: "Hero"
            name: "hero"
            widget: "object"
            collapsed: false
            fields:
              - { label: "Heading", name: "heading", widget: "string" }
              - { label: "Detail", name: "detail", widget: "markdown" }
              - { label: "Hero Image", name: "image", widget: "image", default: "/images/hero.svg" }
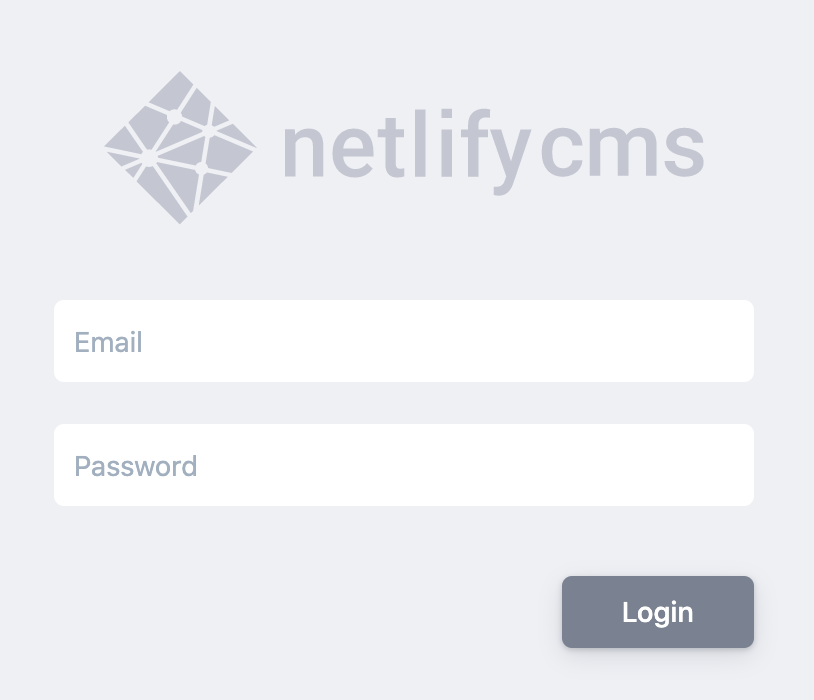
If we go to the admin url we should see the login page:
Config options
There are lots of config options we can tweak, you can find full details of all the settings here:
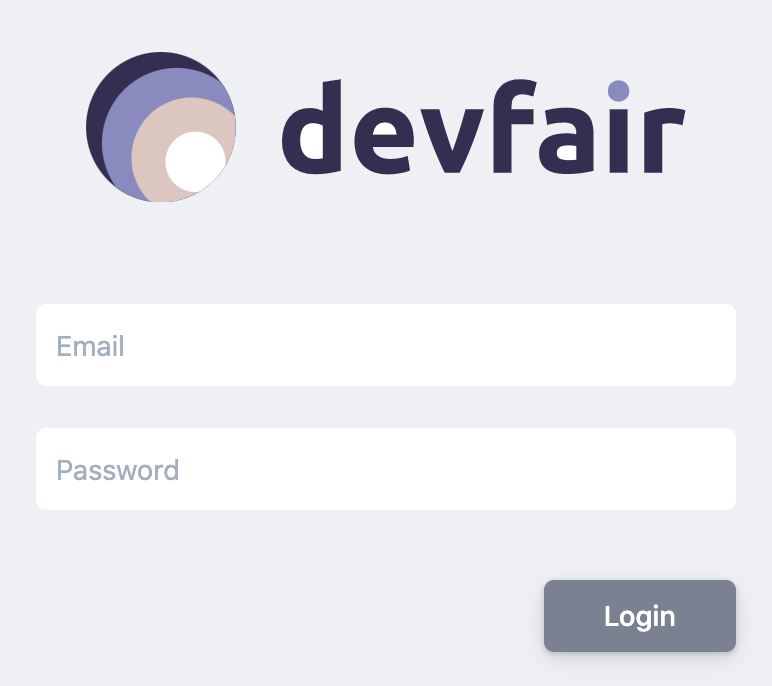
For example we can set a custom logo on the admin page by adding a logo image file public/images/devfair-logo.svg then setting the logo_url setting:
...
public_folder: /images
logo_url: /images/devfair-logo.svg
collections:
...
You should now see a custom logo on the admin page:
About the author
Senior Full-Stack Developer with over 20 years of experience building web applications for startups, government, and higher education.
Comments
Join the discussionNo comments yet. Be the first to comment.
Netlify CMS & Next.js Series
This will be a series of posts were I setup a simple brochure site in Next.js driven by the Netlify CMS.